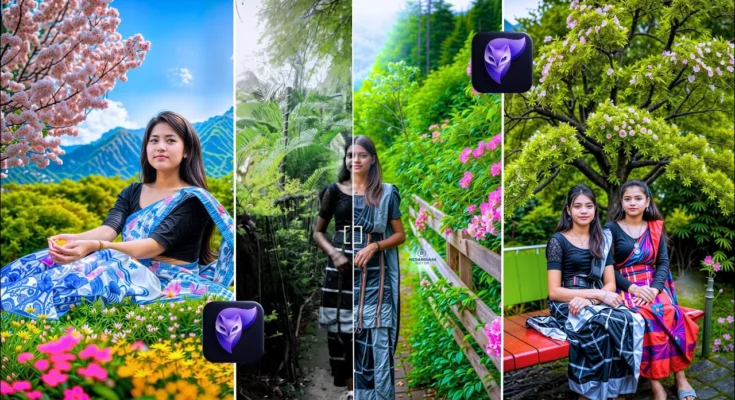
How to Create Trending 8K & 16K Photos Using PhotoRoom and AI Tools
In today’s world of social media, high-quality images are everything. Whether you are posting on Instagram, making thumbnails for YouTube, or simply upgrading your photography portfolio, learning how to edit 8K and 16K photos can make your content stand out. In this guide, I will walk you step by step on how to create such trending high-resolution photos using PhotoRoom and other AI-powered tools.
Step 1: Install and Open PhotoRoom
First, you need the PhotoRoom application. Once installed, open the app and choose the option “Edit a Photo.” You will find a variety of trending templates that you can apply to your pictures. Select the photo you want to enhance and start editing.
Step 2: Use AI Expand to Resize Your Image
If your image has a smaller frame, you can use the AI Expand option. This allows you to stretch the photo into different aspect ratios like 1:1, 9:16, or wider formats. Expanding ensures that your photo fits modern social media dimensions perfectly.
Step 3: Change or Customize Backgrounds
Once your image is expanded, you can change its background. PhotoRoom provides automatic background replacement, but for best results, go with the Custom option. Simply type prompts like:
- Natural cinematic background
- Flower sky with lens blur
- Landscape with trees and lakes
The AI will then generate a realistic background that blends with your photo seamlessly, similar to advanced tools like Runway ML.
Step 4: Save and Enhance Your Photo
After creating your background, save the photo. Now it’s time to upgrade it to 8K or 16K resolution. To do this, you can use a VPN and access free AI enhancement tools available online.
Step 5: Use AI Enhancement Tools
By connecting to a VPN server (preferably in the United States), you can access free AI upscalers. One popular option is ClipDrop, which allows you to enhance images up to 16K.
Upload your saved photo and select the 4x enhancement option. Repeat the process three times to get the highest possible resolution (16K). Each time, the AI will sharpen details, increase clarity, and enlarge the image without losing quality.
Step 6: Fix Faces and Details with PicsArt
Sometimes, during enhancement, facial features may distort. To fix this, open the image in PicsArt. Import your original photo (before editing) and overlay it on the enhanced version. Use the eraser and opacity tools to blend the real face with the enhanced photo. This ensures your face looks natural while keeping the background and dress edited perfectly.
Step 7: Adjust Colors and Final Touch
Once the face and dress are aligned, adjust the brightness, contrast, and saturation. Apply cinematic color grading to match your background. Focus on making the background more vivid without overpowering the subject. When done, save the final version in JPEG format.
Final Result
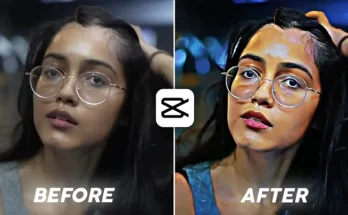
After following these steps, you will have a professional-quality 8K or 16K photo. These kinds of edits are trending on Instagram and other social platforms, making your content look premium and eye-catching.
Useful Tools for Photo Editing
- PhotoRoom – AI photo editing app
- PicsArt – Face correction and editing
- ClipDrop – Image enhancement & relighting
- Runway ML – AI-powered background generator
Pro Tip: Always save your images at the highest resolution possible before uploading them to social media. Platforms like Instagram compress images, but if you start with 8K or 16K, the quality will remain significantly better than standard photos.
Conclusion
By using PhotoRoom, AI background generators, and free upscaling tools, you can transform any selfie into a professional-grade 16K masterpiece. The process is simple, beginner-friendly, and highly effective. With just one click and a few enhancements, your photos will look cinematic, sharp, and ready to go viral.


